Quick Start Guide 
By: TerrainDrop on July 22, 2022, 3:45 a.m.
The first thing most people want to do with TerrainDrop is throw some of their data at the system to see how it works. The good news is this is pretty easy and takes about 10 seconds of actual clicking and then a bunch of upload time. Let's get started.
If you want to add data to the system, head on up to the top and click on 'Add Data' menu in the top menu and select 'Upload Dataset' .

You are then presented with a screen that consists of two sections: the file panel and the map panel. There are 4 steps that are labeled 1 through 4.
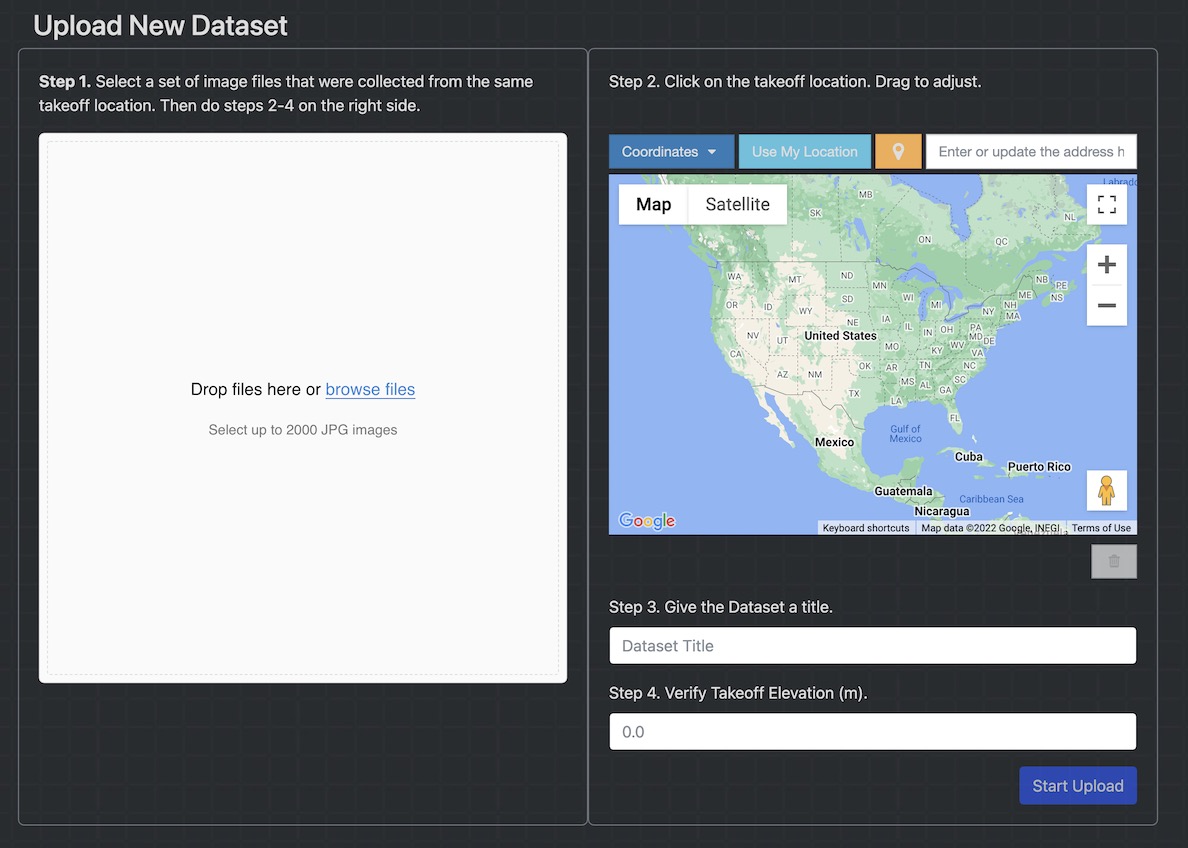
Step 1. Click in the panel to select files manually or drop the files in using your file manager.

Once files have been added they will show up in the file panel and the map will show the general location.

Step 2. Click on the map where the flight for the data took off. We use this data to calculate accurate elevations and terrain intersections. If you make a mistake you can drag the marker to where it needs to be once it is placed. It doesn't have to be right on the location. Being within a few meters is fine.
Step 3. (Optional) Give the dataset a name that is useful to you for organization. The location of the marker is automatically geocoded and will fill this in with an address. Edit this value as needed.
Step 4. Verify the takeoff elevation that is automatically pulled as part of the geocoding. It should be close. If it isn't, edit as needed.

That's it! Push the 'Start Upload' button and keep an eye on the file upload progress.

Once the upload is complete you will be presented with your dataset.

